
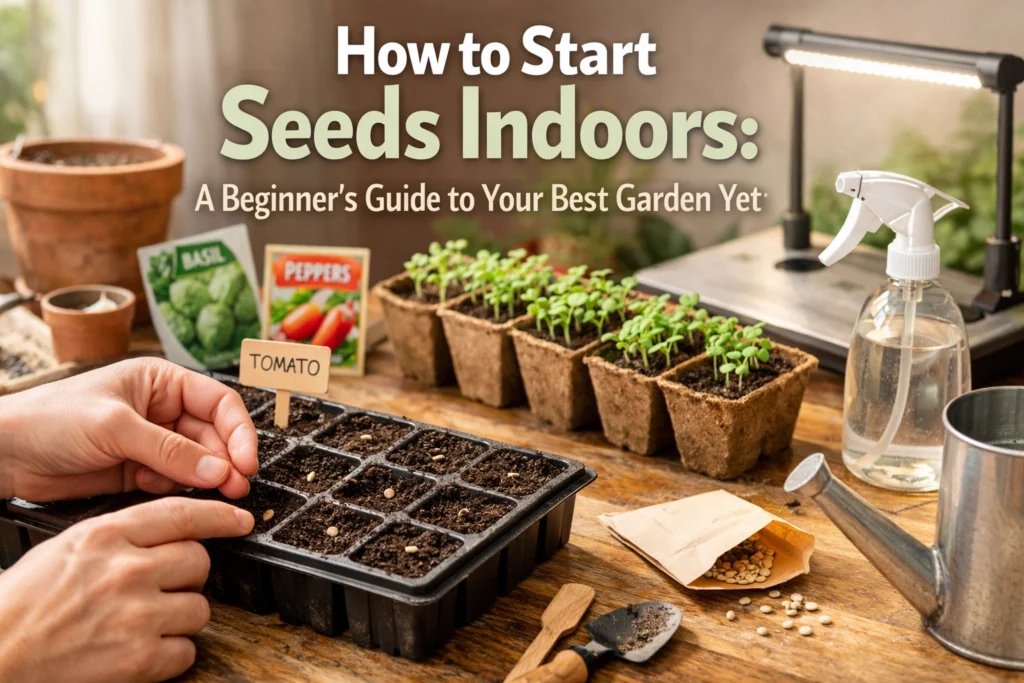
Let’s be real, Minnesota’s growing season can feel ridiculously short. One minute you’re shoveling snow, and the next you’re scrambling to get your garden going before summer’s halfway over. That’s exactly why starting seeds indoors is such a game-changer for us here in Janesville. You get a serious head start on the season, save a bunch of money compared to buying transplants, and honestly? There’s something pretty satisfying about growing plants from tiny seeds right in your own home.
If you’ve never started seeds indoors before, don’t stress. It’s way easier than you think, and we’ve got everything you need right here at the store. Let’s walk through it together!
Why Bother Starting Seeds Indoors?
Here in southern Minnesota, our last frost date typically falls somewhere around mid-May. That means if you wait to direct-sow seeds outside, you’re looking at a pretty compressed growing season for warm-season crops like tomatoes, peppers, and basil. Starting seeds indoors 6-8 weeks before that last frost gives your plants a huge advantage, they’ll be ready to hit the ground running (or growing) as soon as the weather cooperates.
Plus, you get access to way more variety than you’d find in transplants at a garden center. Want to grow that specific heirloom tomato variety you read about? Starting from seed is often your only option.
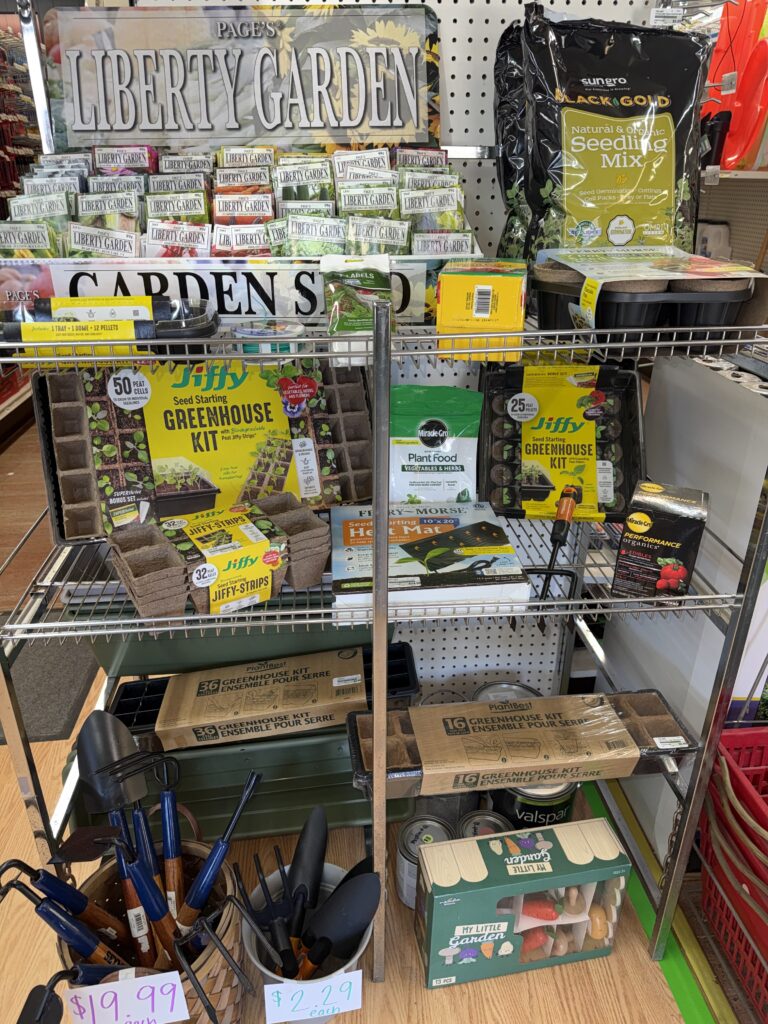
What You’ll Need to Get Started
The good news? You don’t need a ton of fancy equipment to start seeds successfully. Here’s what we recommend, and yes, we carry all of this stuff:
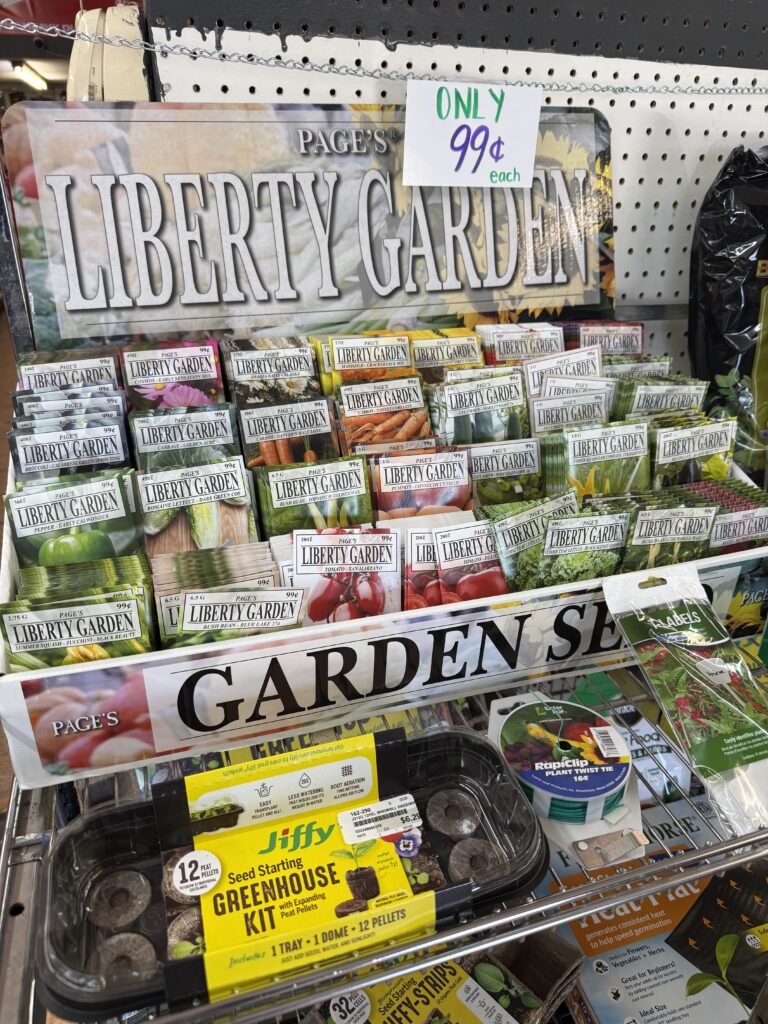
Seeds: Choose varieties suited to our climate. We stock a great selection of vegetable and flower seeds, both at the store and in our seasonal greenhouse when it opens.
Seed Starting Mix: This is different from regular potting soil. Seed starting mix is lighter, sterile, and designed specifically for germination. Regular soil is too heavy and can compact, making it tough for tiny seedlings to push through.
Containers: Seed starting trays with individual cells work great. You can also reuse yogurt cups or egg cartons if you’re feeling thrifty, just poke drainage holes in the bottom.
Grow Lights (Optional but Helpful): If you have a super sunny south-facing window, you might be okay without lights. But for most of us, especially during those still-gray March days, a basic grow light setup makes a huge difference. We’ve got affordable special order options that’ll work perfectly for beginners.
Water: A spray bottle or small watering can with a gentle flow is ideal.
Labels: Trust me on this one, you think you’ll remember which tray is which, but you won’t. A simple marker and some labels will save you confusion later.
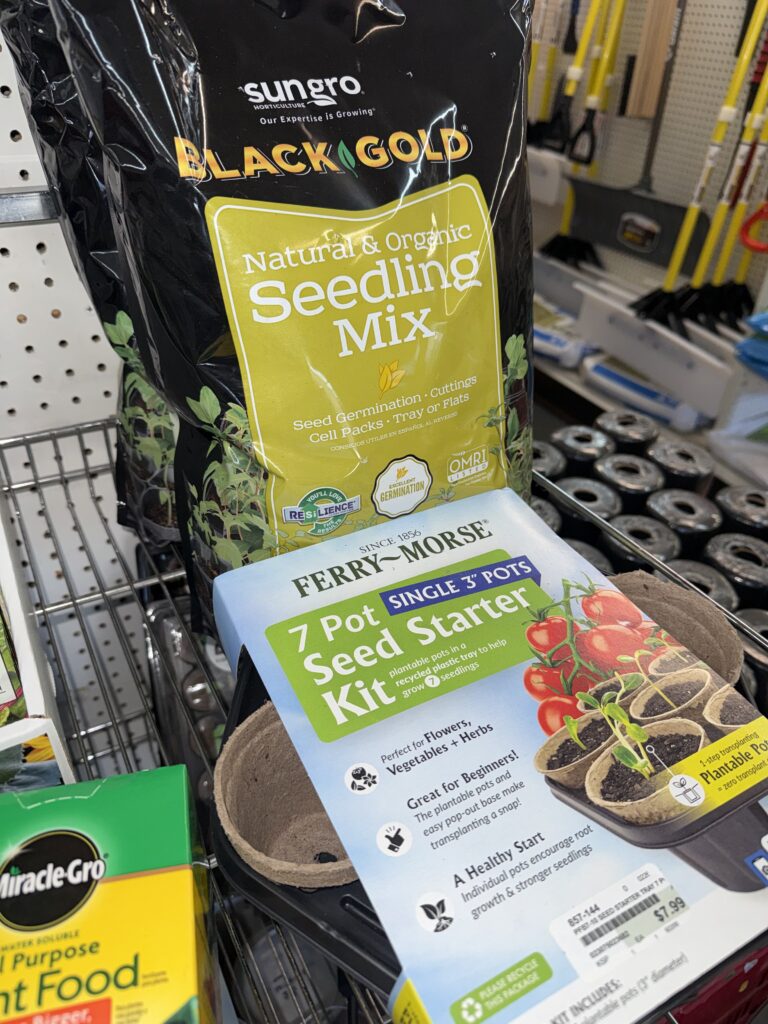
Step-by-Step: Let’s Get Those Seeds Started
Step 1: Prep Your Seed Starting Mix
Fill your containers about two-thirds full with seed starting mix. Here’s a pro tip: moisten the mix BEFORE you plant your seeds. Add water gradually and mix it in with your hands until it feels like a wrung-out sponge, damp but not dripping wet. This prevents you from accidentally washing seeds away or burying them too deep when you water after planting.
Step 2: Plant Your Seeds
Check your seed packet for the recommended planting depth. As a general rule, seeds should be planted about 2-3 times as deep as they are wide. Really tiny seeds (like lettuce or petunias) can just be pressed lightly onto the surface.
Drop 2-3 seeds per cell. Yeah, it feels wasteful, but this ensures you’ll get at least one strong seedling per spot. You can always thin them out later by snipping off the weaker ones with scissors.
Gently cover the seeds with a light layer of seed starting mix, and give everything a light misting with your spray bottle. Label your containers!
Step 3: Create a Warm, Humid Environment
Most seeds germinate best when the soil temperature is between 70-80°F. If you’ve got a warm spot in your house (top of the fridge, near a heating vent), that works. Or you can use a seedling heat mat, we’ve got those if you want to get fancy.
Covering your trays with a humidity dome or even a piece of plastic wrap helps retain moisture and warmth. Just make sure to remove the cover as soon as you see sprouts popping up, usually within 7-10 days.
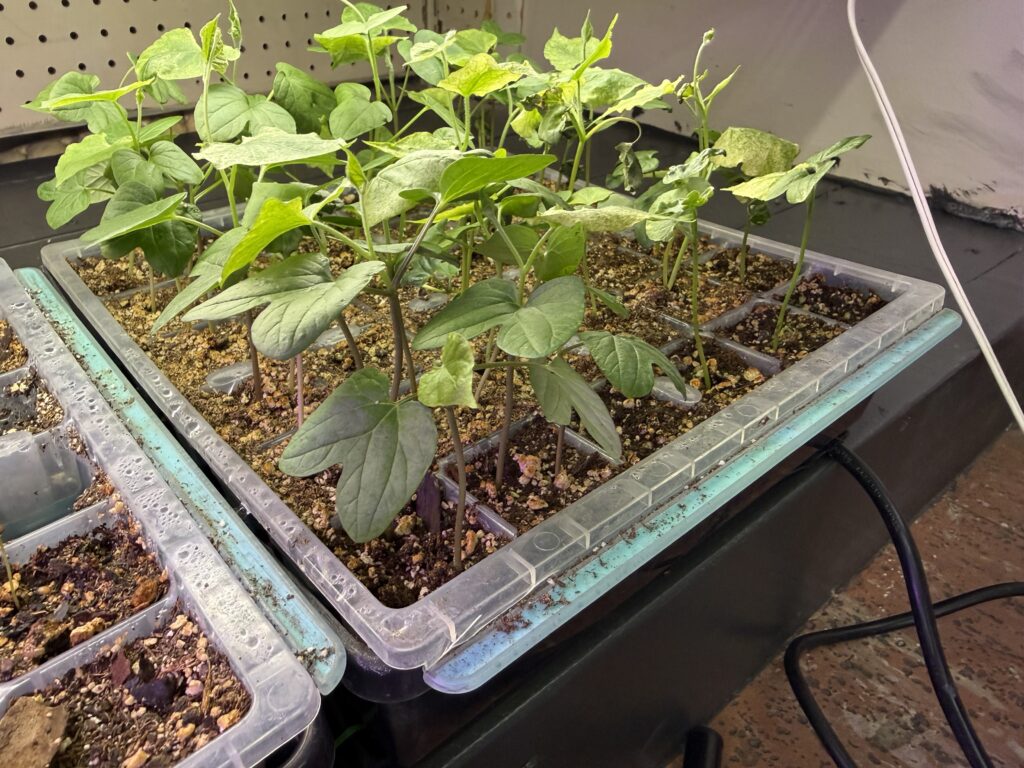
Step 4: Keep the Soil Consistently Moist
Check your seedlings daily. The soil should stay moist but never waterlogged. During germination, you might need to mist once or twice a day. A spray bottle is your friend here because it won’t disturb the seeds.
Step 5: Give Them Light (Lots of It)
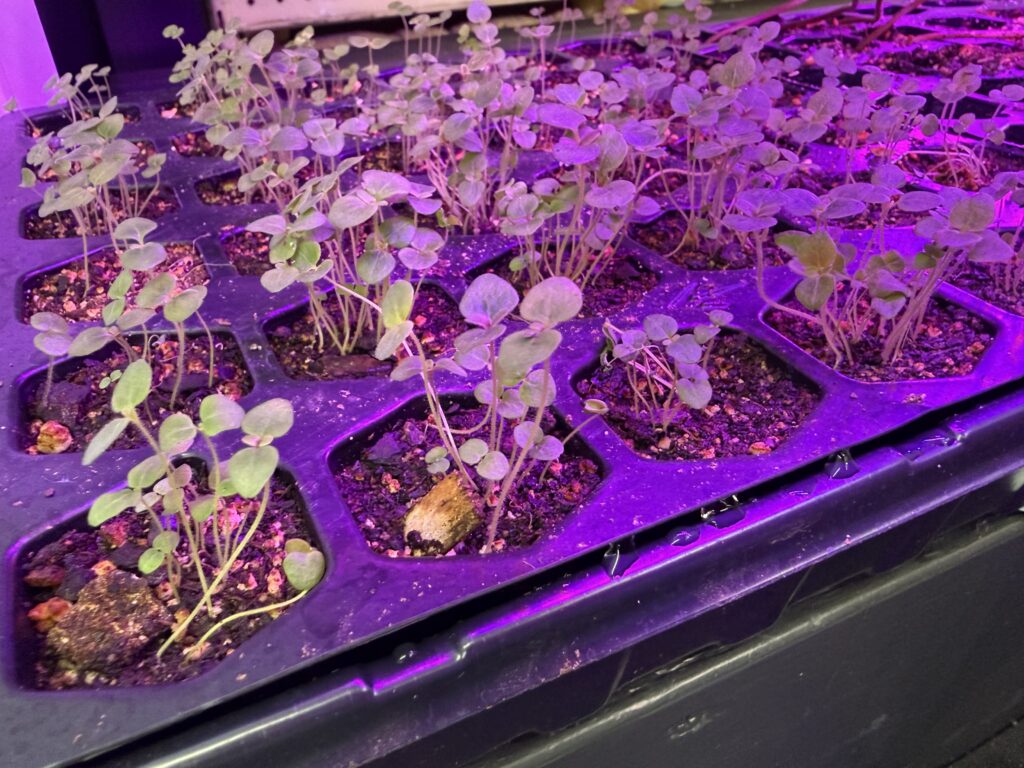
Once those little green shoots appear, they need LIGHT, and lots of it. This is where many beginners run into trouble. Even a sunny window often isn’t quite enough, and you’ll end up with “leggy” seedlings that are tall, weak, and floppy.
If you’re using grow lights, position them 2-3 inches directly above your seedlings. Keep them on for 14-16 hours per day. As the plants grow, raise the lights to maintain that distance.
No grow lights? A south-facing window is your next best bet, but rotate your trays regularly so plants don’t lean too much toward the light.
Caring for Your Seedlings
Once your seedlings have their first set of “true leaves” (the second set of leaves that appear, the first ones don’t count, those are just the seed leaves), you can start treating them a bit more like grown-up plants.
Watering: Transition from misting to bottom-watering or gentle watering with a small can. The soil should stay evenly moist but not soggy. Overwatering is one of the fastest ways to kill seedlings.
Thinning: If multiple seeds sprouted in one cell, it’s time to choose the strongest one. Use scissors to snip the weaker seedlings at soil level, don’t pull them out or you’ll disturb the roots of the keeper.
Fertilizing: After about 2-3 weeks, start using a diluted liquid fertilizer at half-strength. Seed starting mix doesn’t have much nutrition, so your seedlings will appreciate a little boost.
The Critical Step: Hardening Off
Okay, this part is super important. You can’t just take seedlings that have been living their best life indoors and plunk them directly into the garden. They’ll go into shock from the sun, wind, and temperature changes.
About 7-10 days before your planned transplant date (after our last frost in mid-May), start the “hardening off” process. This gradually acclimates your plants to outdoor conditions.
Day 1-2: Set your seedlings outside in a shaded, protected spot for just 1-2 hours.
Day 3-4: Increase to 3-4 hours, still in shade.
Day 5-6: Start introducing a little direct sunlight, maybe an hour or two.
Day 7-10: Gradually increase sun exposure and leave them out longer each day, eventually leaving them out overnight if temps stay above 45°F.
Yes, it’s a bit of a hassle hauling trays in and out, but trust me: it makes ALL the difference in how well your plants transition to the garden.
What to Grow First
If you’re brand new to seed starting, here are some beginner-friendly choices that are pretty forgiving:
- Tomatoes: Start 6-8 weeks before last frost
- Peppers: Start 8-10 weeks before last frost
- Basil: Start 6 weeks before last frost
- Zinnias: Start 4-6 weeks before last frost
- Marigolds: Start 4-6 weeks before last frost
- Lettuce: Start 4-6 weeks before last frost
Stop By and See Us!
Starting seeds indoors is one of those projects that seems intimidating at first but becomes totally addictive once you get the hang of it. There’s something magical about watching a tiny seed transform into a thriving plant, knowing you made it happen.
We’ve got all the supplies you need to get started: seeds, trays, seed starting mix, grow lights, and more. And once our seasonal greenhouse opens, you’ll find an even bigger selection of seeds and seedlings if you want to mix and match your homegrown starts with some ready-to-go transplants.
Come grab what you need and let’s get growing! Before you know it, we’ll be past that last frost and your garden will be off to an amazing start. Happy planting! 🌱